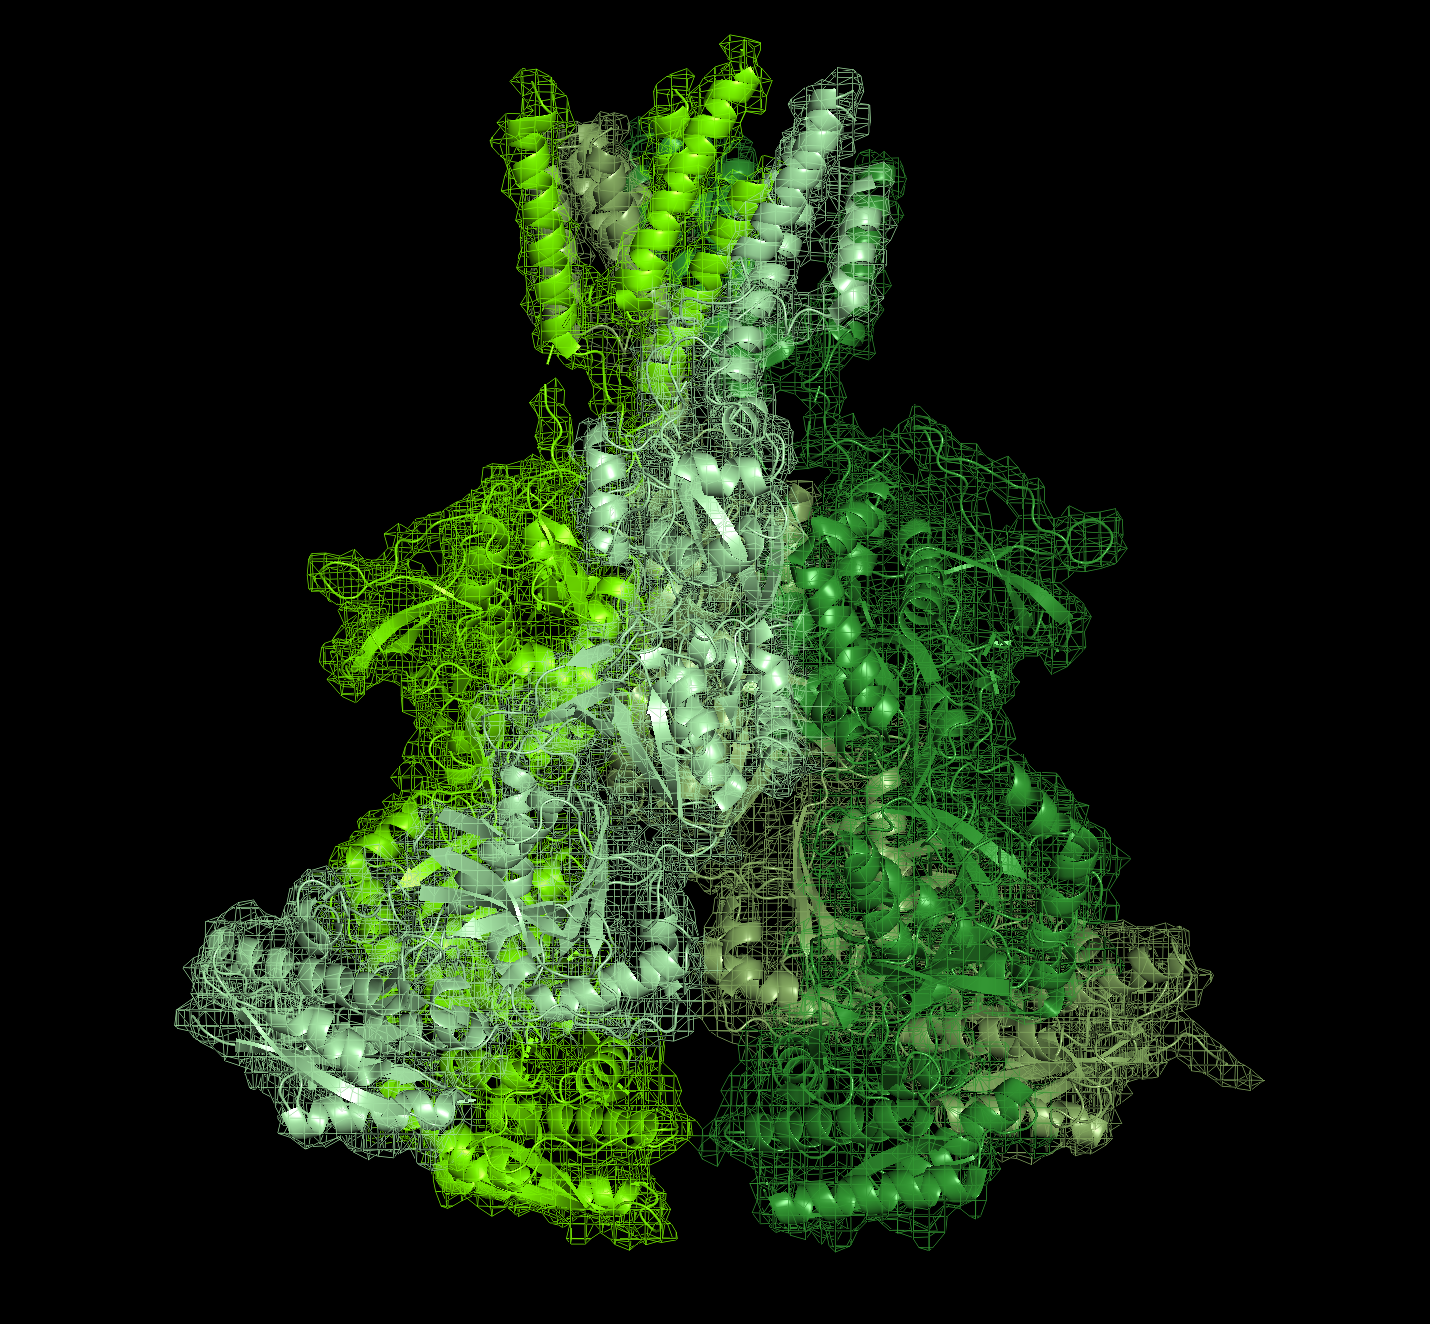
We were interested in light and shadow. We were also interested in molecular structure at variable scales, as well as memory. We selected the NMDA receptor as a starting point for a protein modeling project; it is an ion channel that responds only to high-frequency neuronal inputs and plays a cruicial part in the establishment of long-term potentiaion – the closest correlate to memory at the cellular level.
We decided we wanted to create semi-transparent sculptures inspired by protein structures, and started looking into techniques for building them. Two techniques stood out.
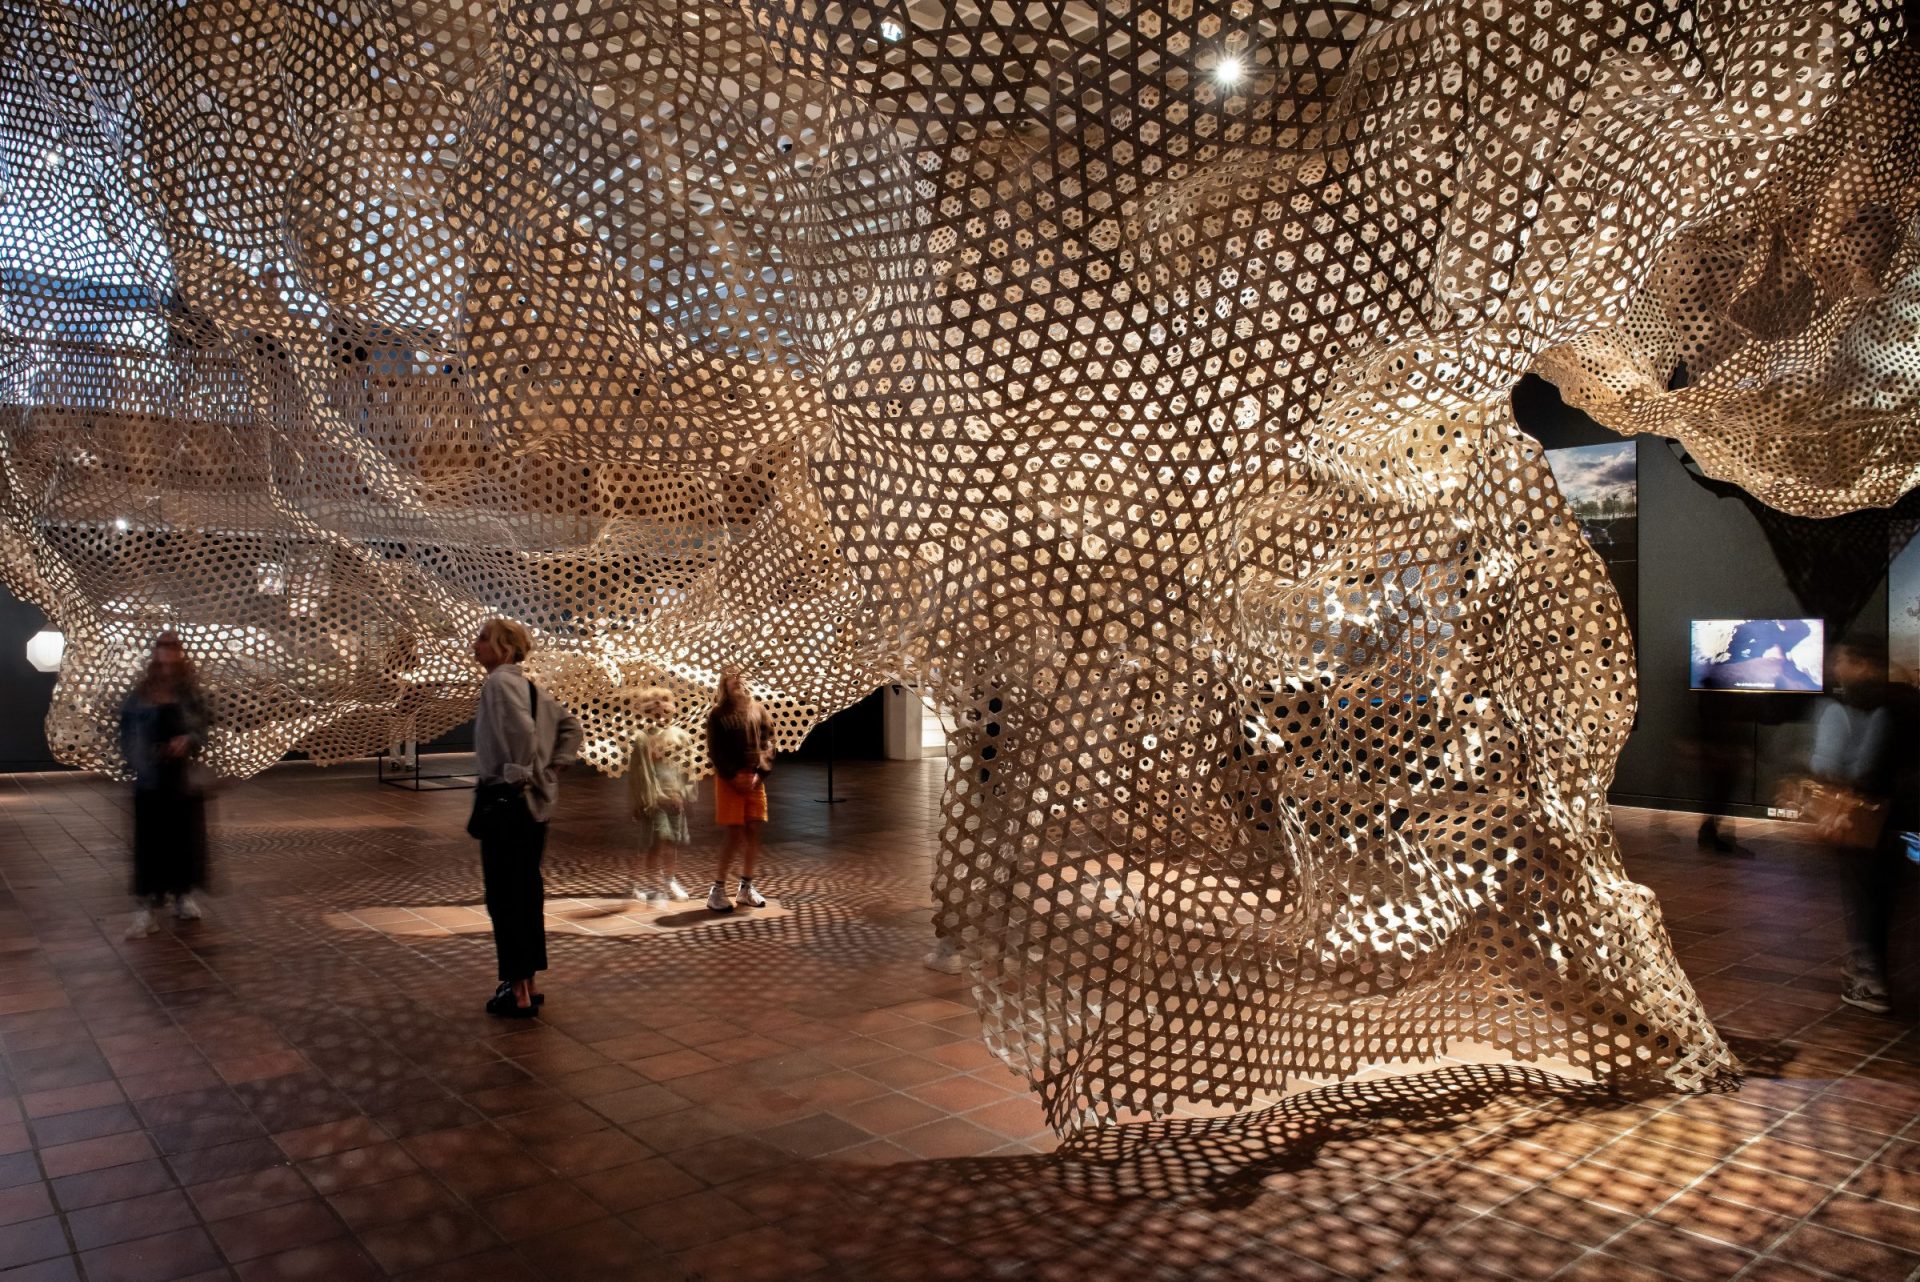
Our second idea was to use weaving. We were inspired by cave_bureau, a Kenyan architecture studio which has (among other projects) used a technique called Kagome weaving (described below) to weave reeds into gallery-sized structures shaped like cave interiors.
Kagome weaving is a traditional Japanese weaving technique. Unlike standard weaving, which uses two sets of strands (a warp and a weft) that run perpendicular to one another, Kagome weaving is a triaxial technique. It uses three sets of strands, which intersect with each other at 120 degree angles, creating a repeating pattern of hexagons in their negative space.
The technique's architectural applications have been developed by a number of architects, mathematicians, and artists, including the cave_bureau, Professor Phil Ayres (an architect at CITA Denmark), and Allison Grace Martin (an artist based in Italy). By introducing new strands into the weave (or withdrawing strands) at particular points, you can bend the curvature of your surface by introducing topological singularities.
The Experiments
Experiment 1: Digital Groundwork
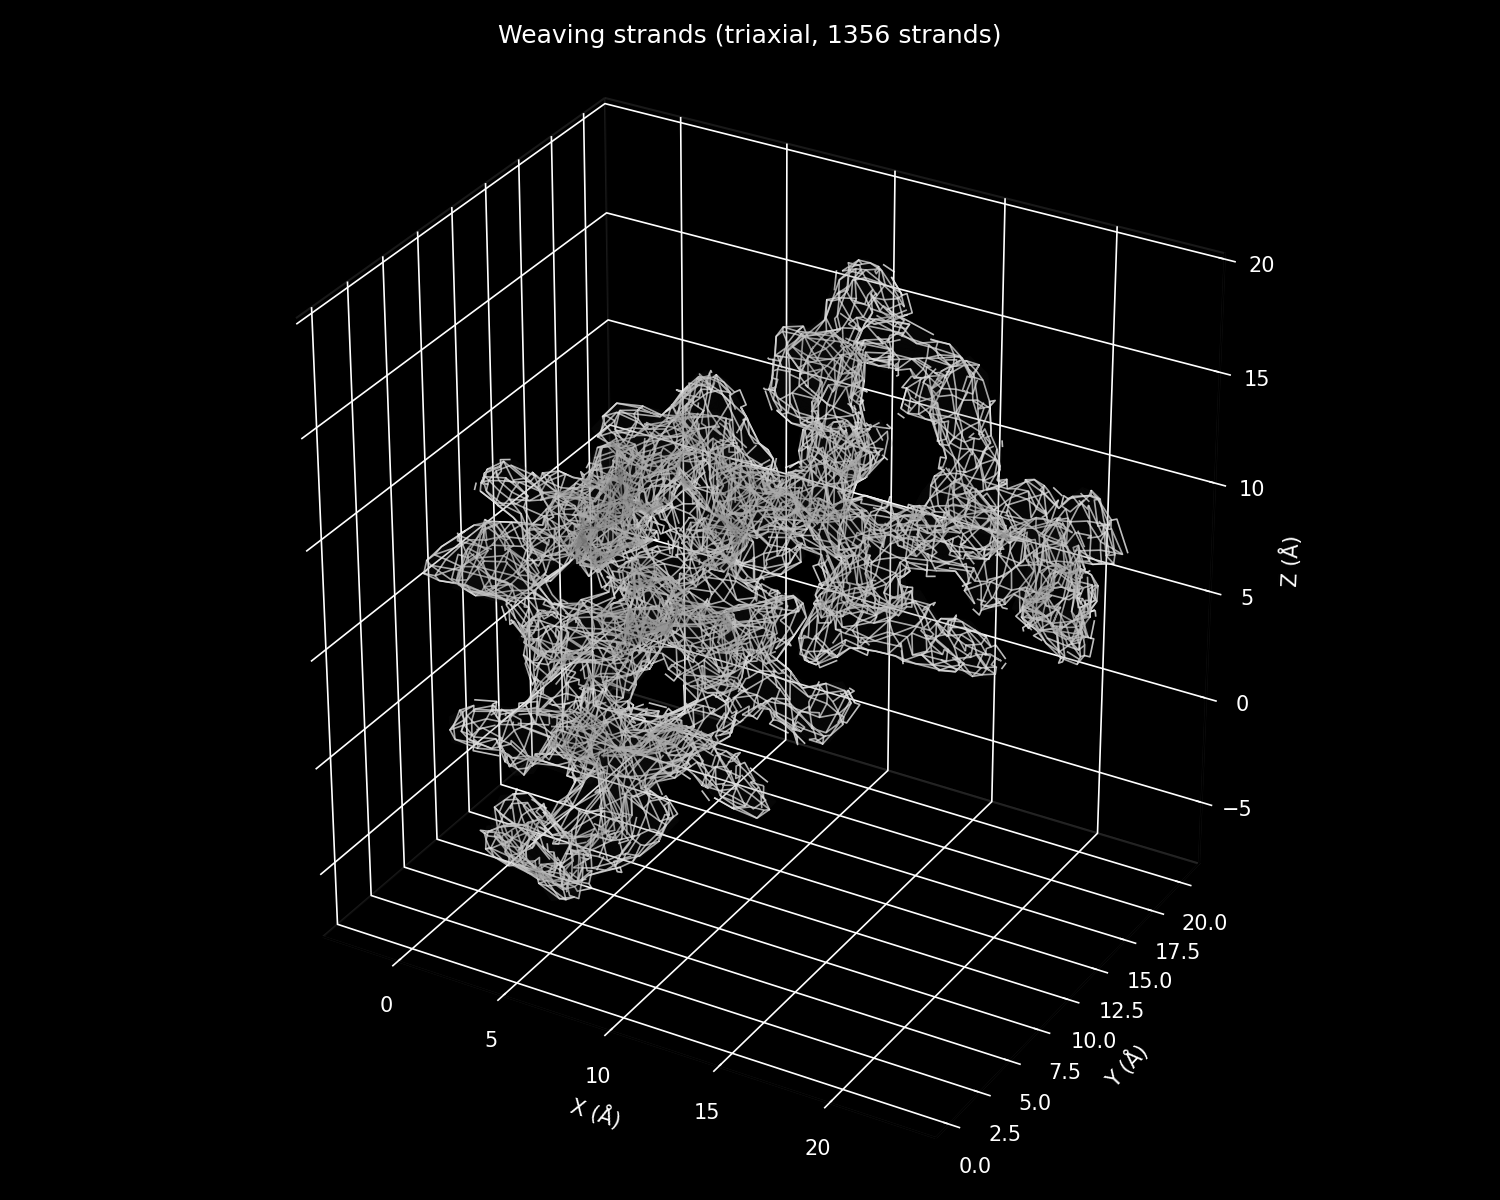
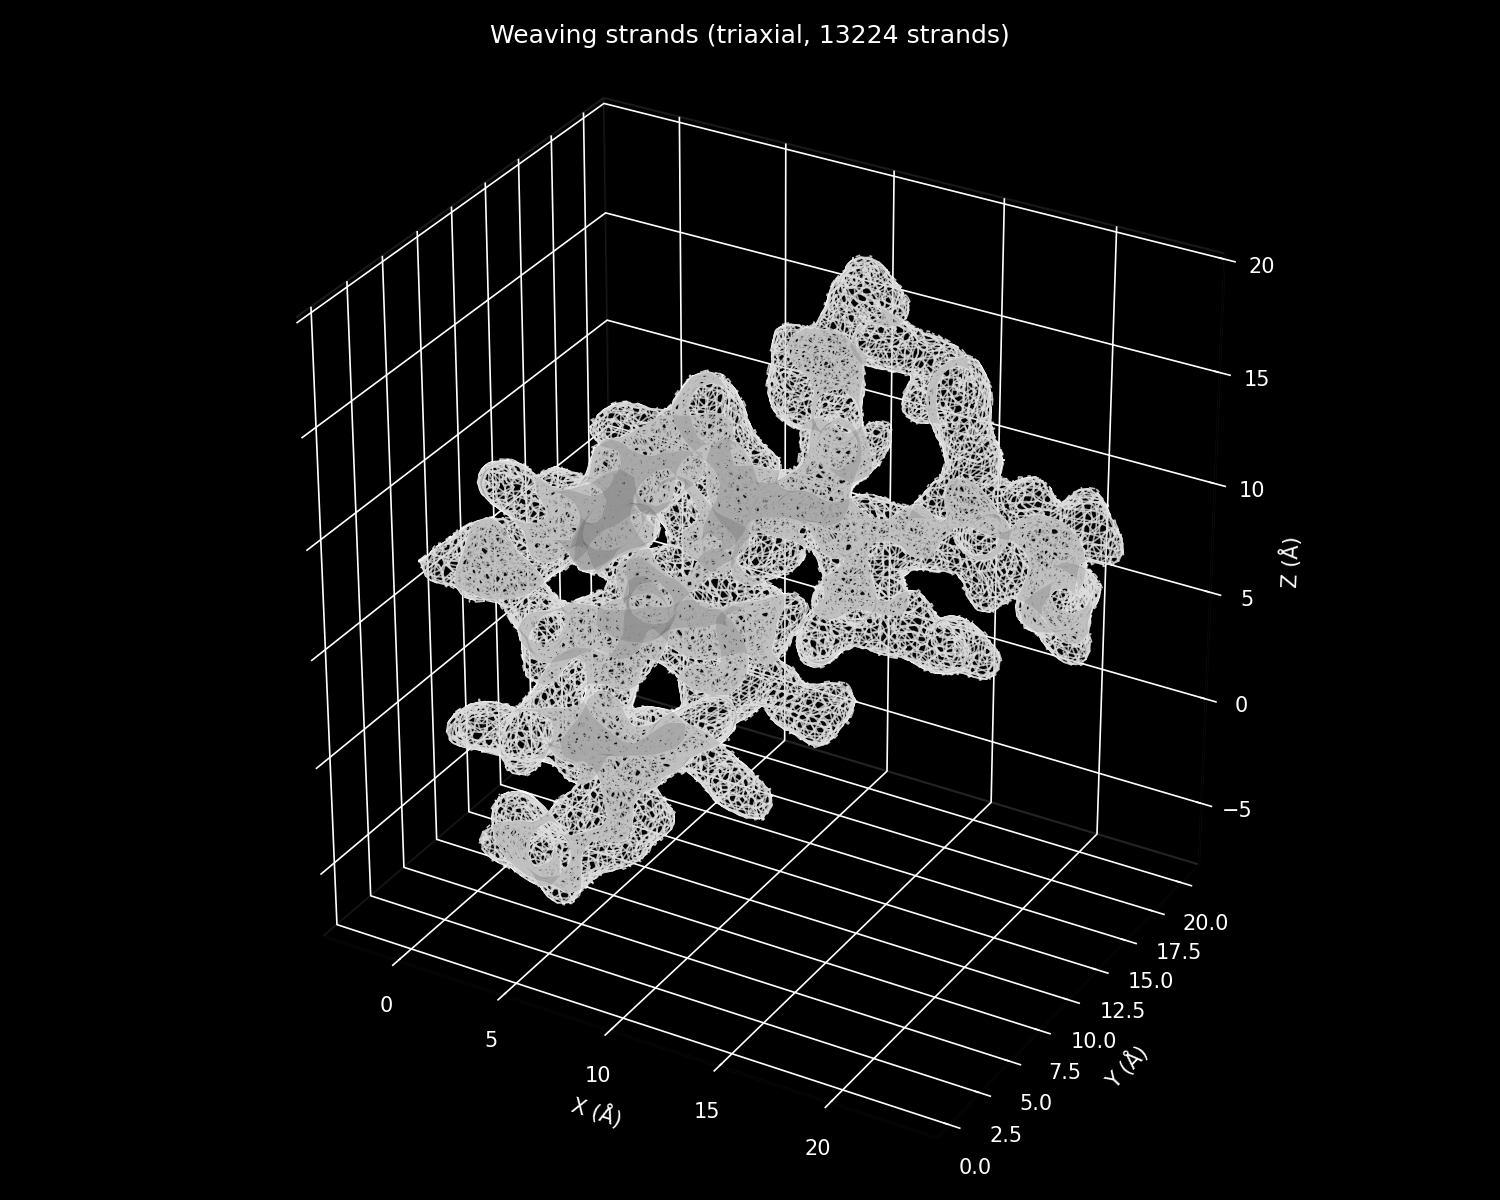
We created a Python package that takes a protein shape file (from PDB, in CIF format) and generates three different types of patterns: a quadrature weave, a Kagome-style triaxial weave, or a crochet pattern. In addition, you can create your own Kagome patterns by adding individual singularities to the mesh and visualizing how that changes the overall shape.
Our first tests used crambin, a small 48-amino-acid plant peptide with a relatively simple structure (two alpha helices and a beta sheet). The level of smoothing and gap-filling applied to the PDB file affects the visual outputs:
Base
Dense
Denser
Interactive 3D crambin triaxial weave — drag to rotate
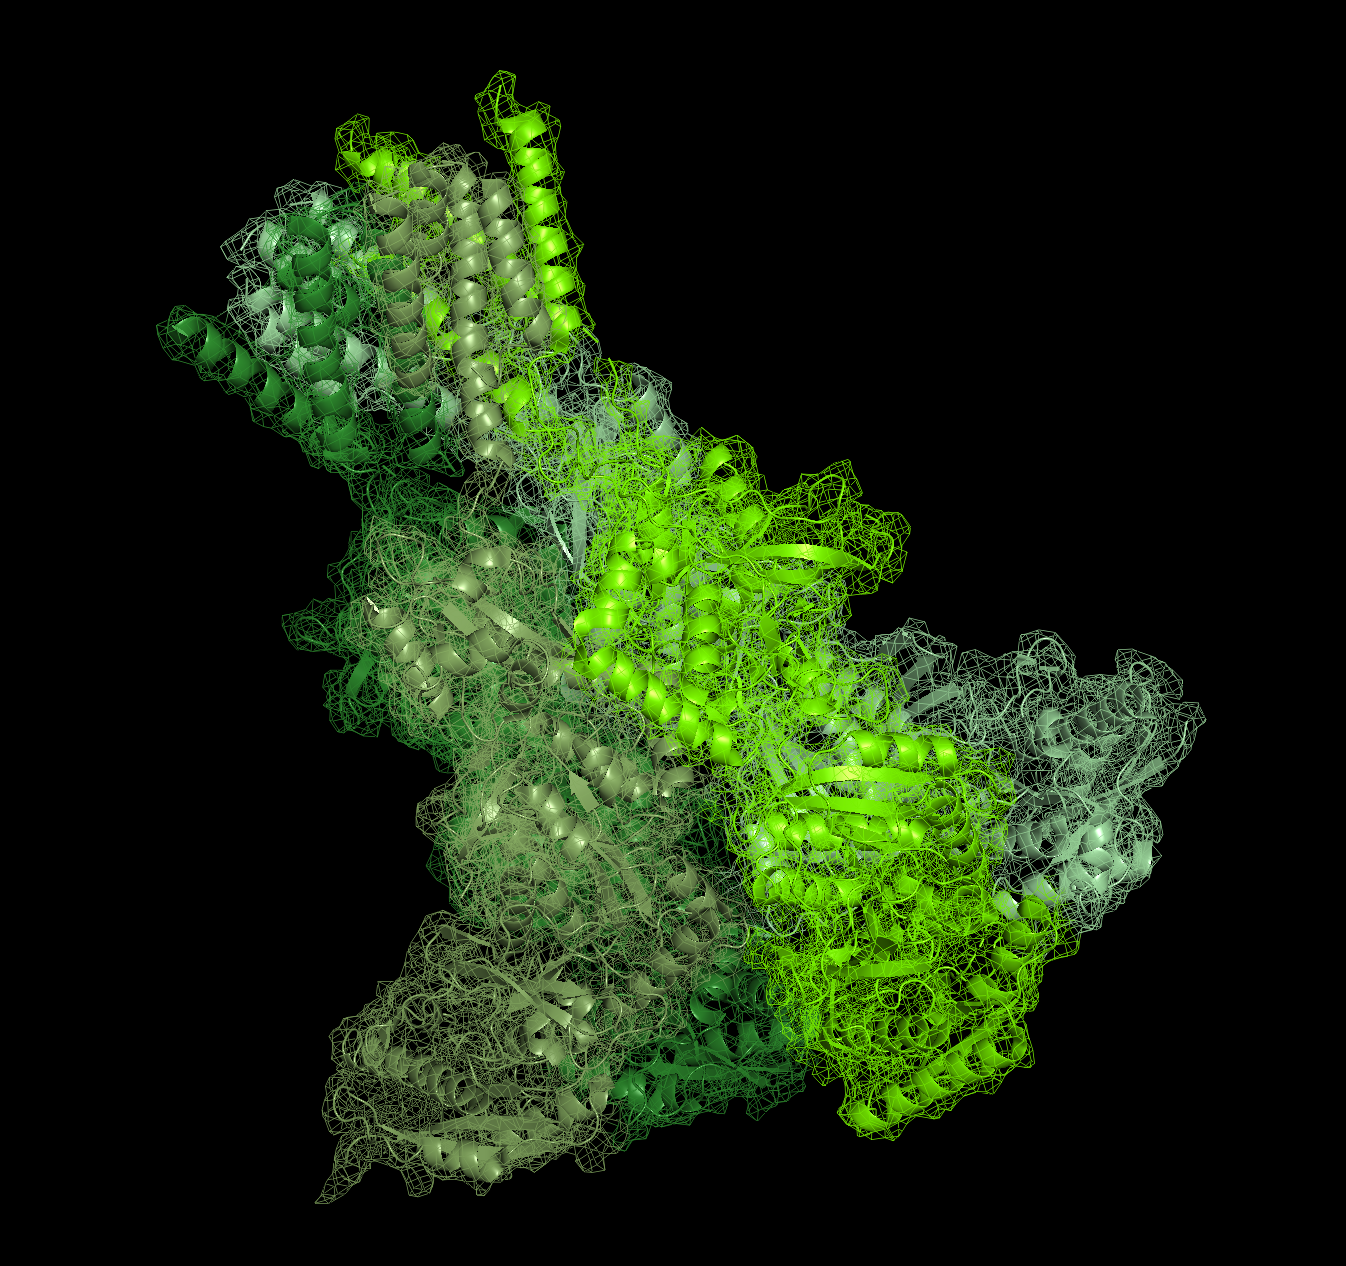
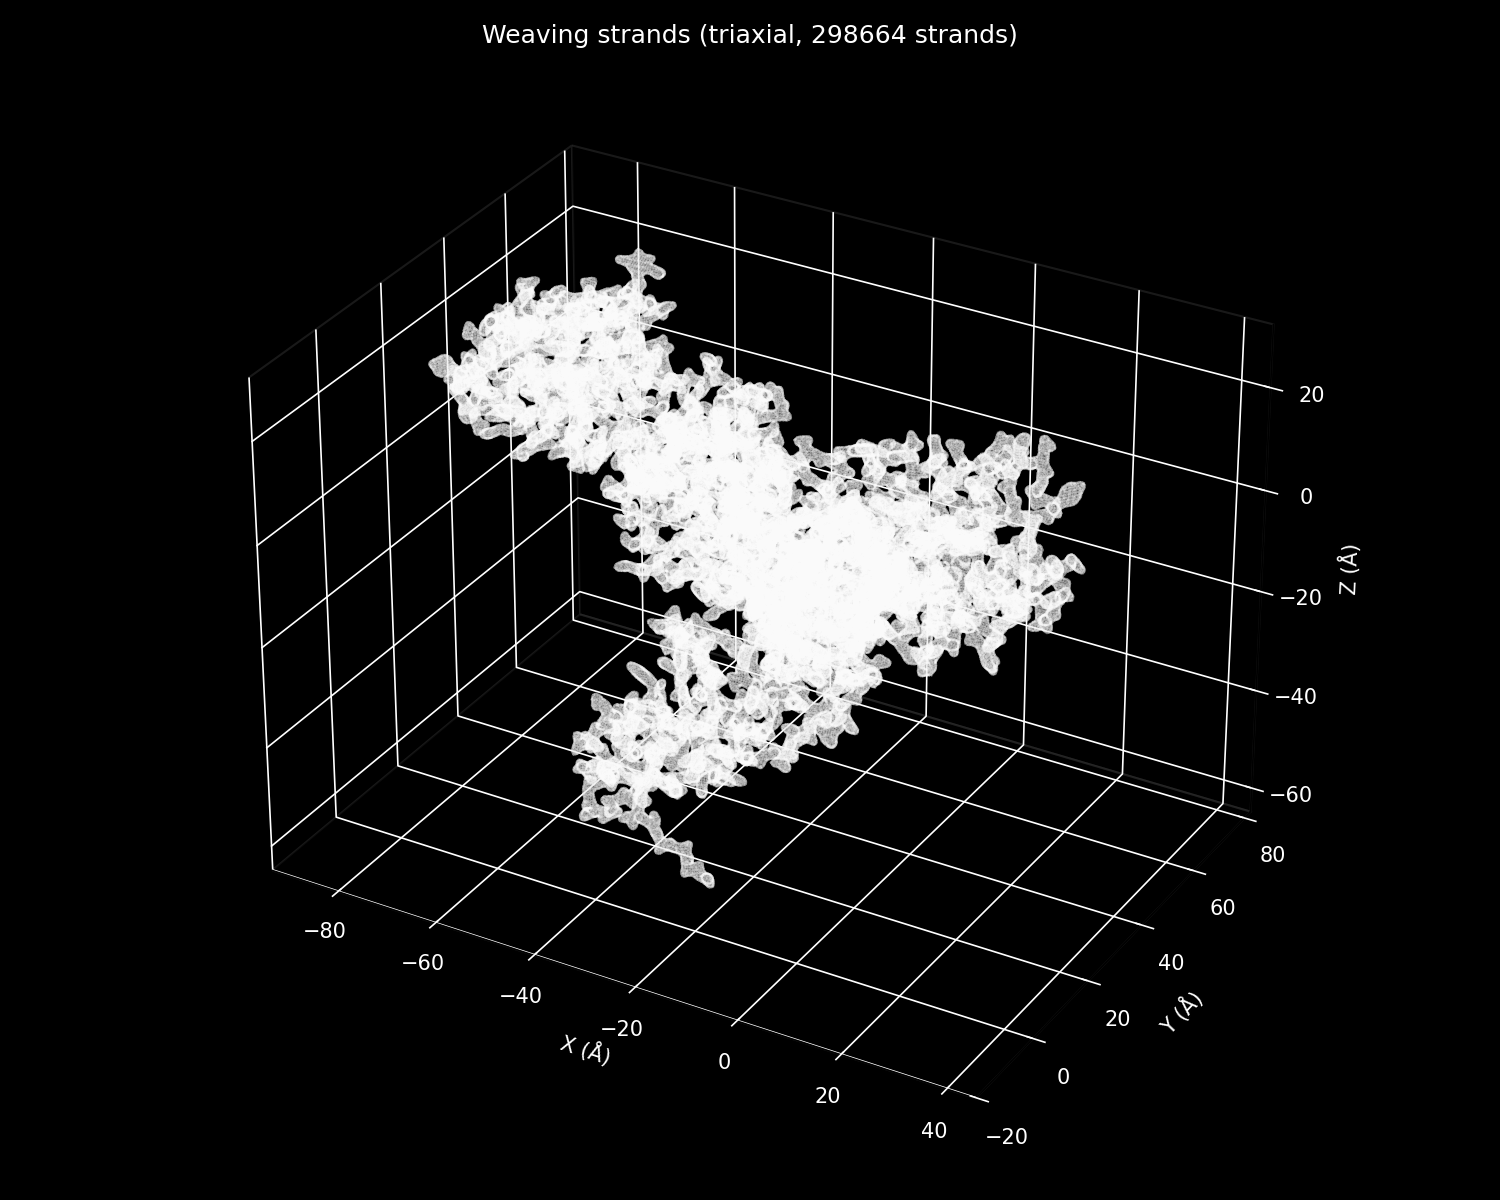
When we tried to apply the program to the NMDA receptor, a much larger protein with multiple subdomains, we realized that we needed to make several changes to the algorithm to simplify the strand assignment and make such a large weave computationally feasible to render.
Experiment 2: Crochet
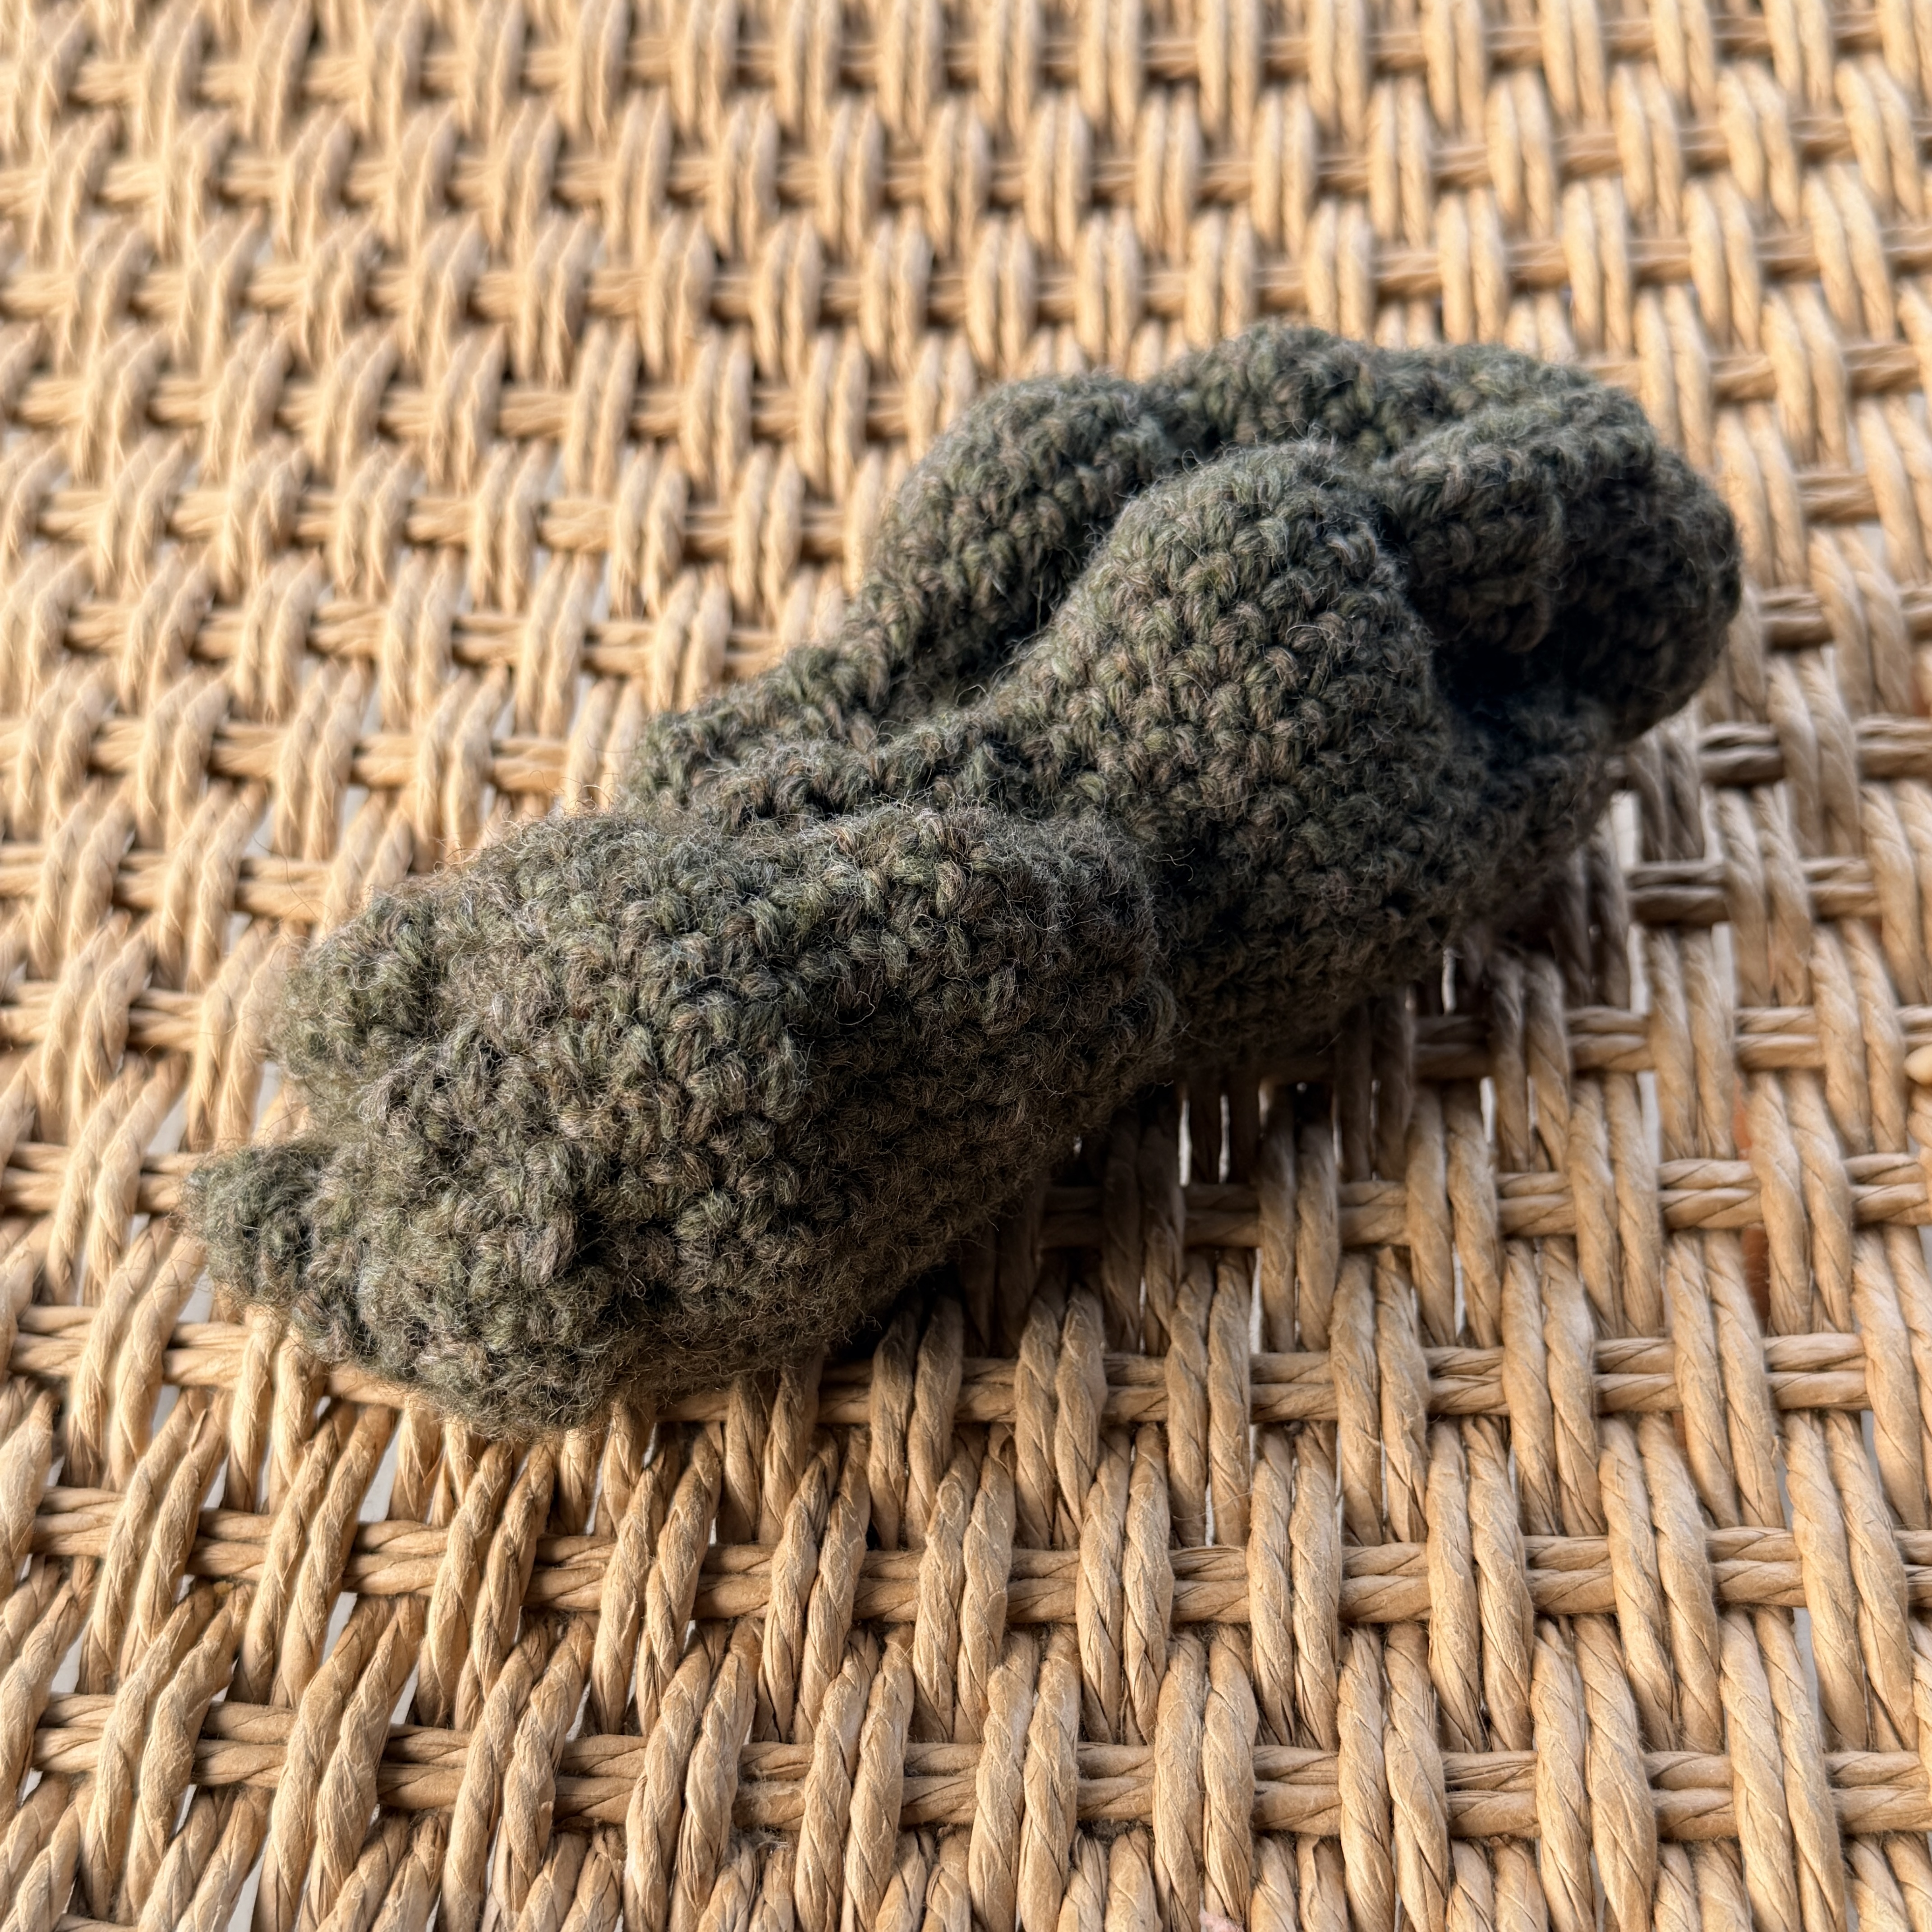
Because of Charlotte's extensive experience with crochet, we decided that our first test in the physical world should be a crochet pattern. We generated a crochet pattern for crambin that focused on the exterior structure of the protein, and then we made it.
This pattern captured the larger structure of the protein and some of its interesting features but, given that this is a simple protein, there weren't too many interesting proteins to capture. However, it was clear that the pattern generation succeeded at making things we could build.
However, the surface of the yarn is too tight for light to shine through, precluding us from doing anything interesting with shadow. Our original follow-up idea was to use the crochet patterns to make something with wire. However, while Ruth Asawa's work is colloquially called crochet, it's actually a looping technique. Because that looping technique is much less well-studied than crochet, we have not yet been able to extend our python program to include it.
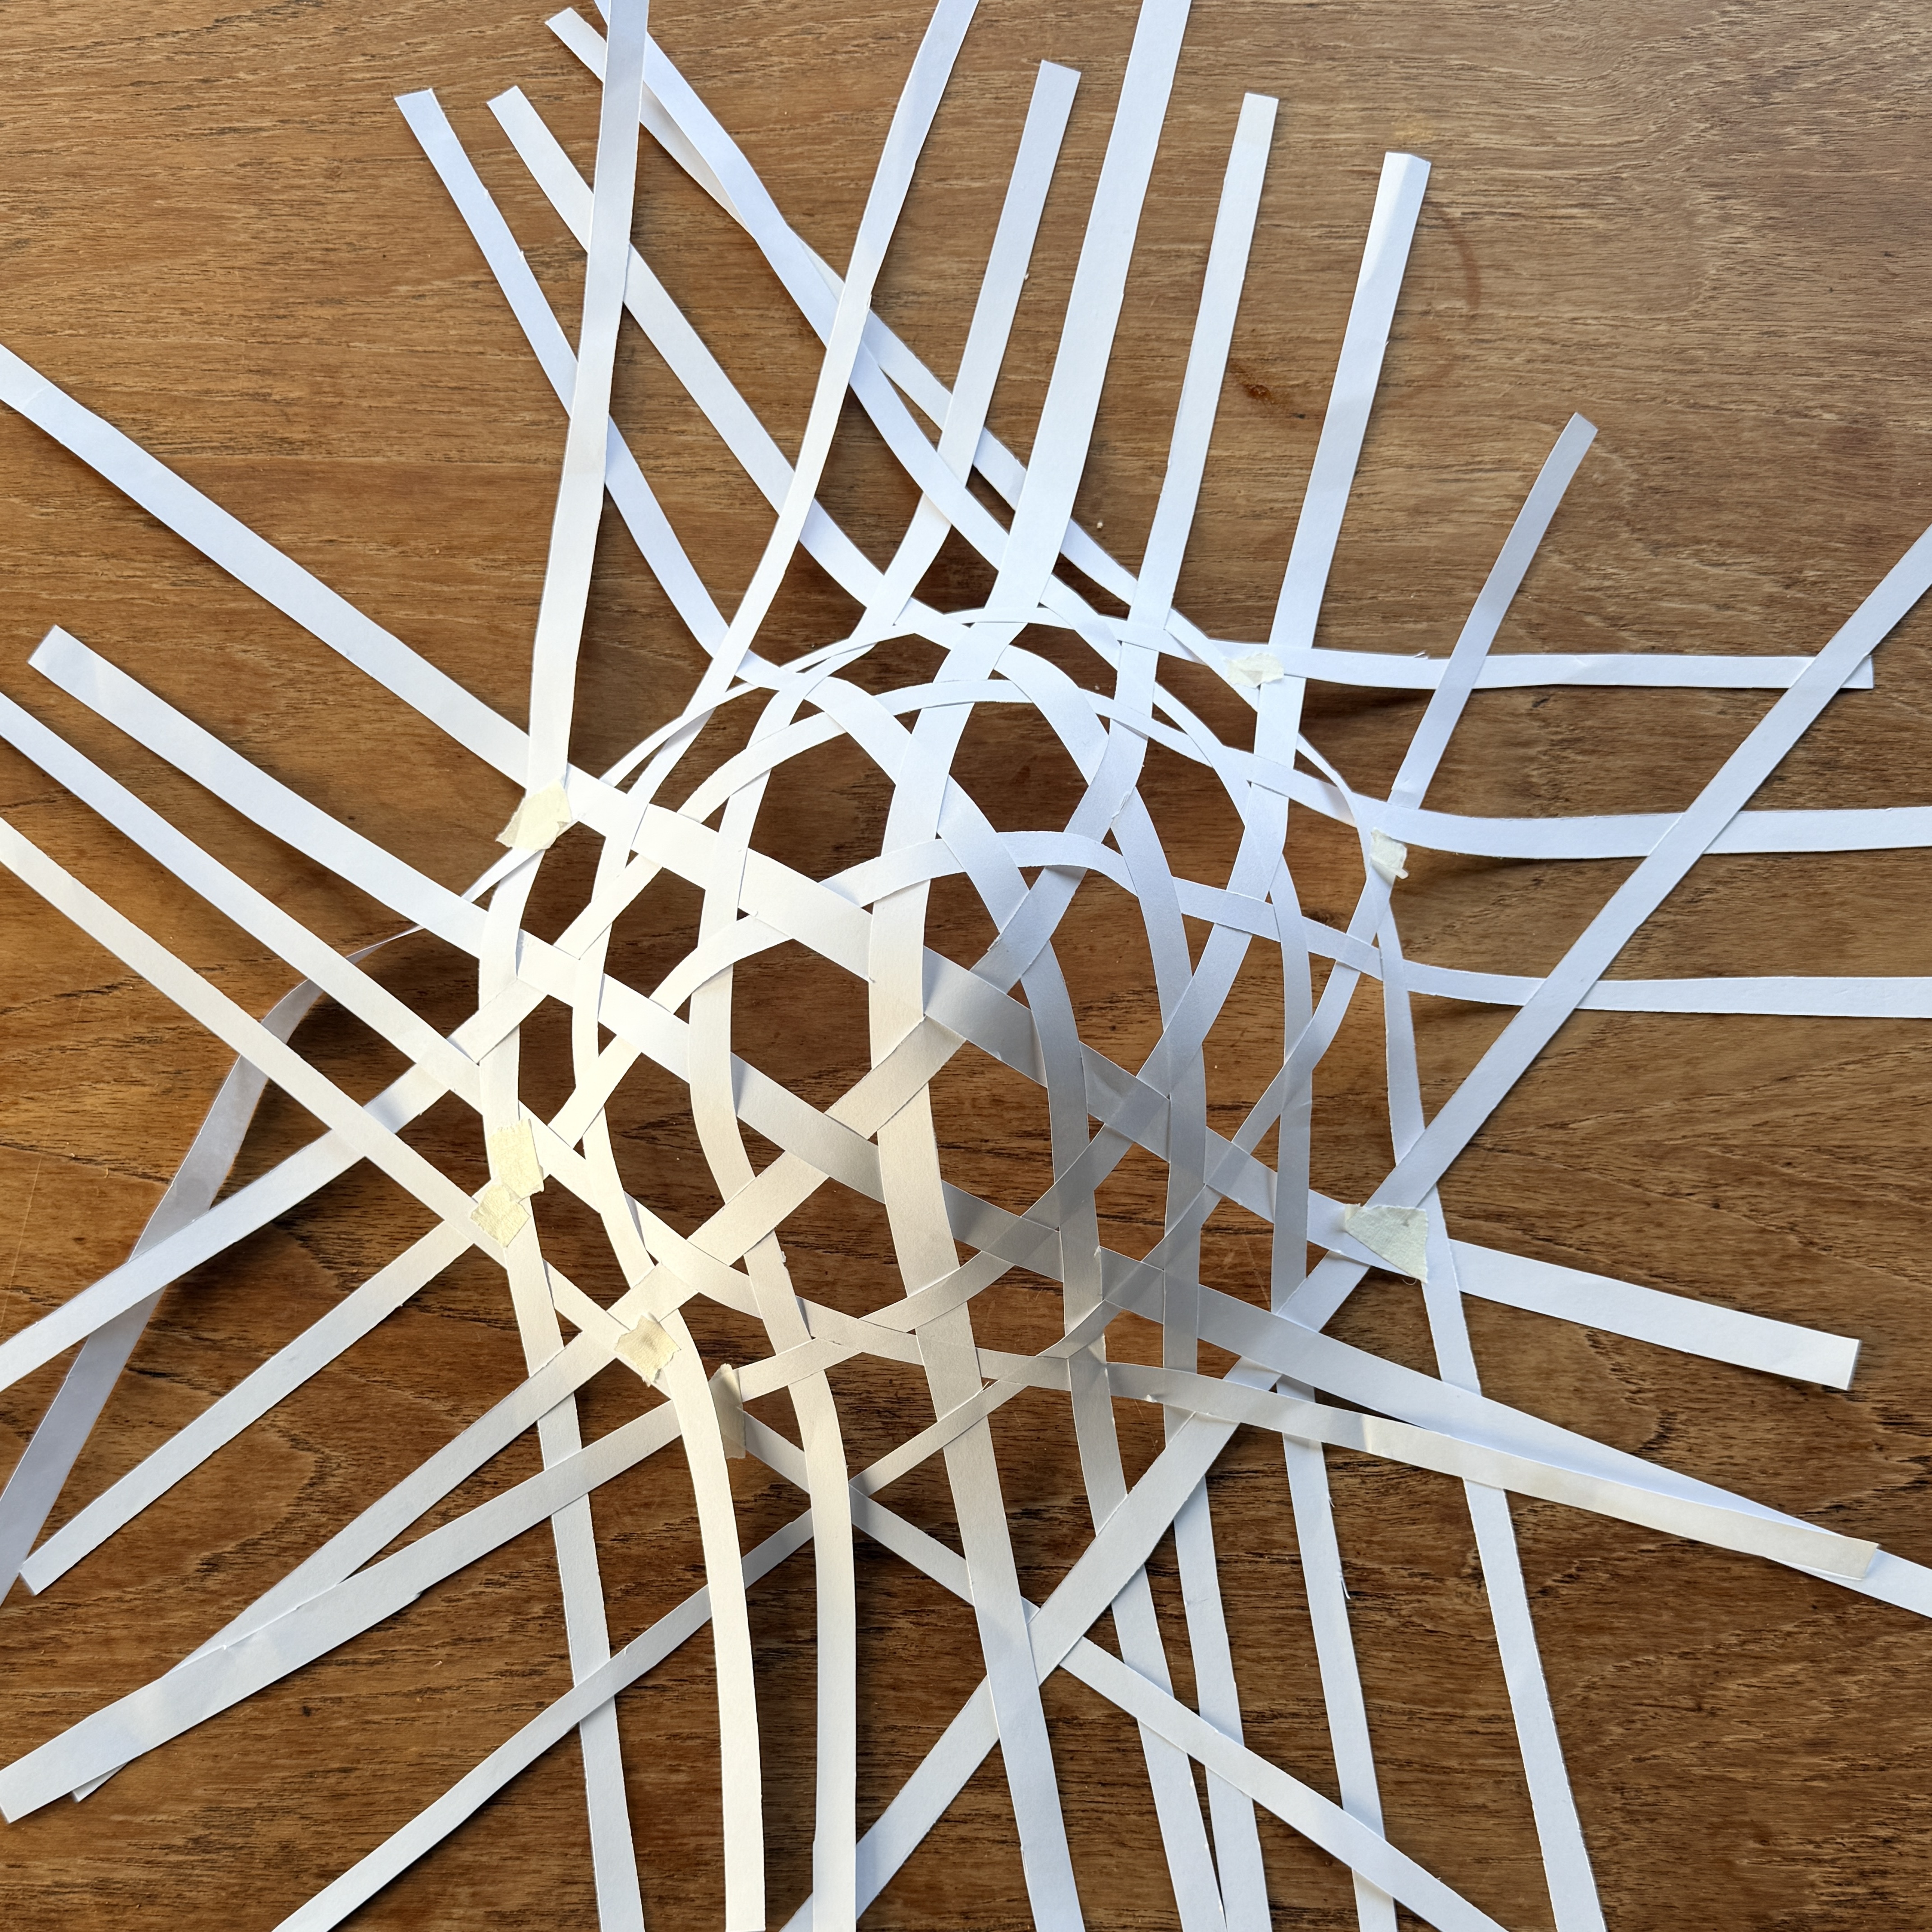
Experiment 3: Learning Kagome
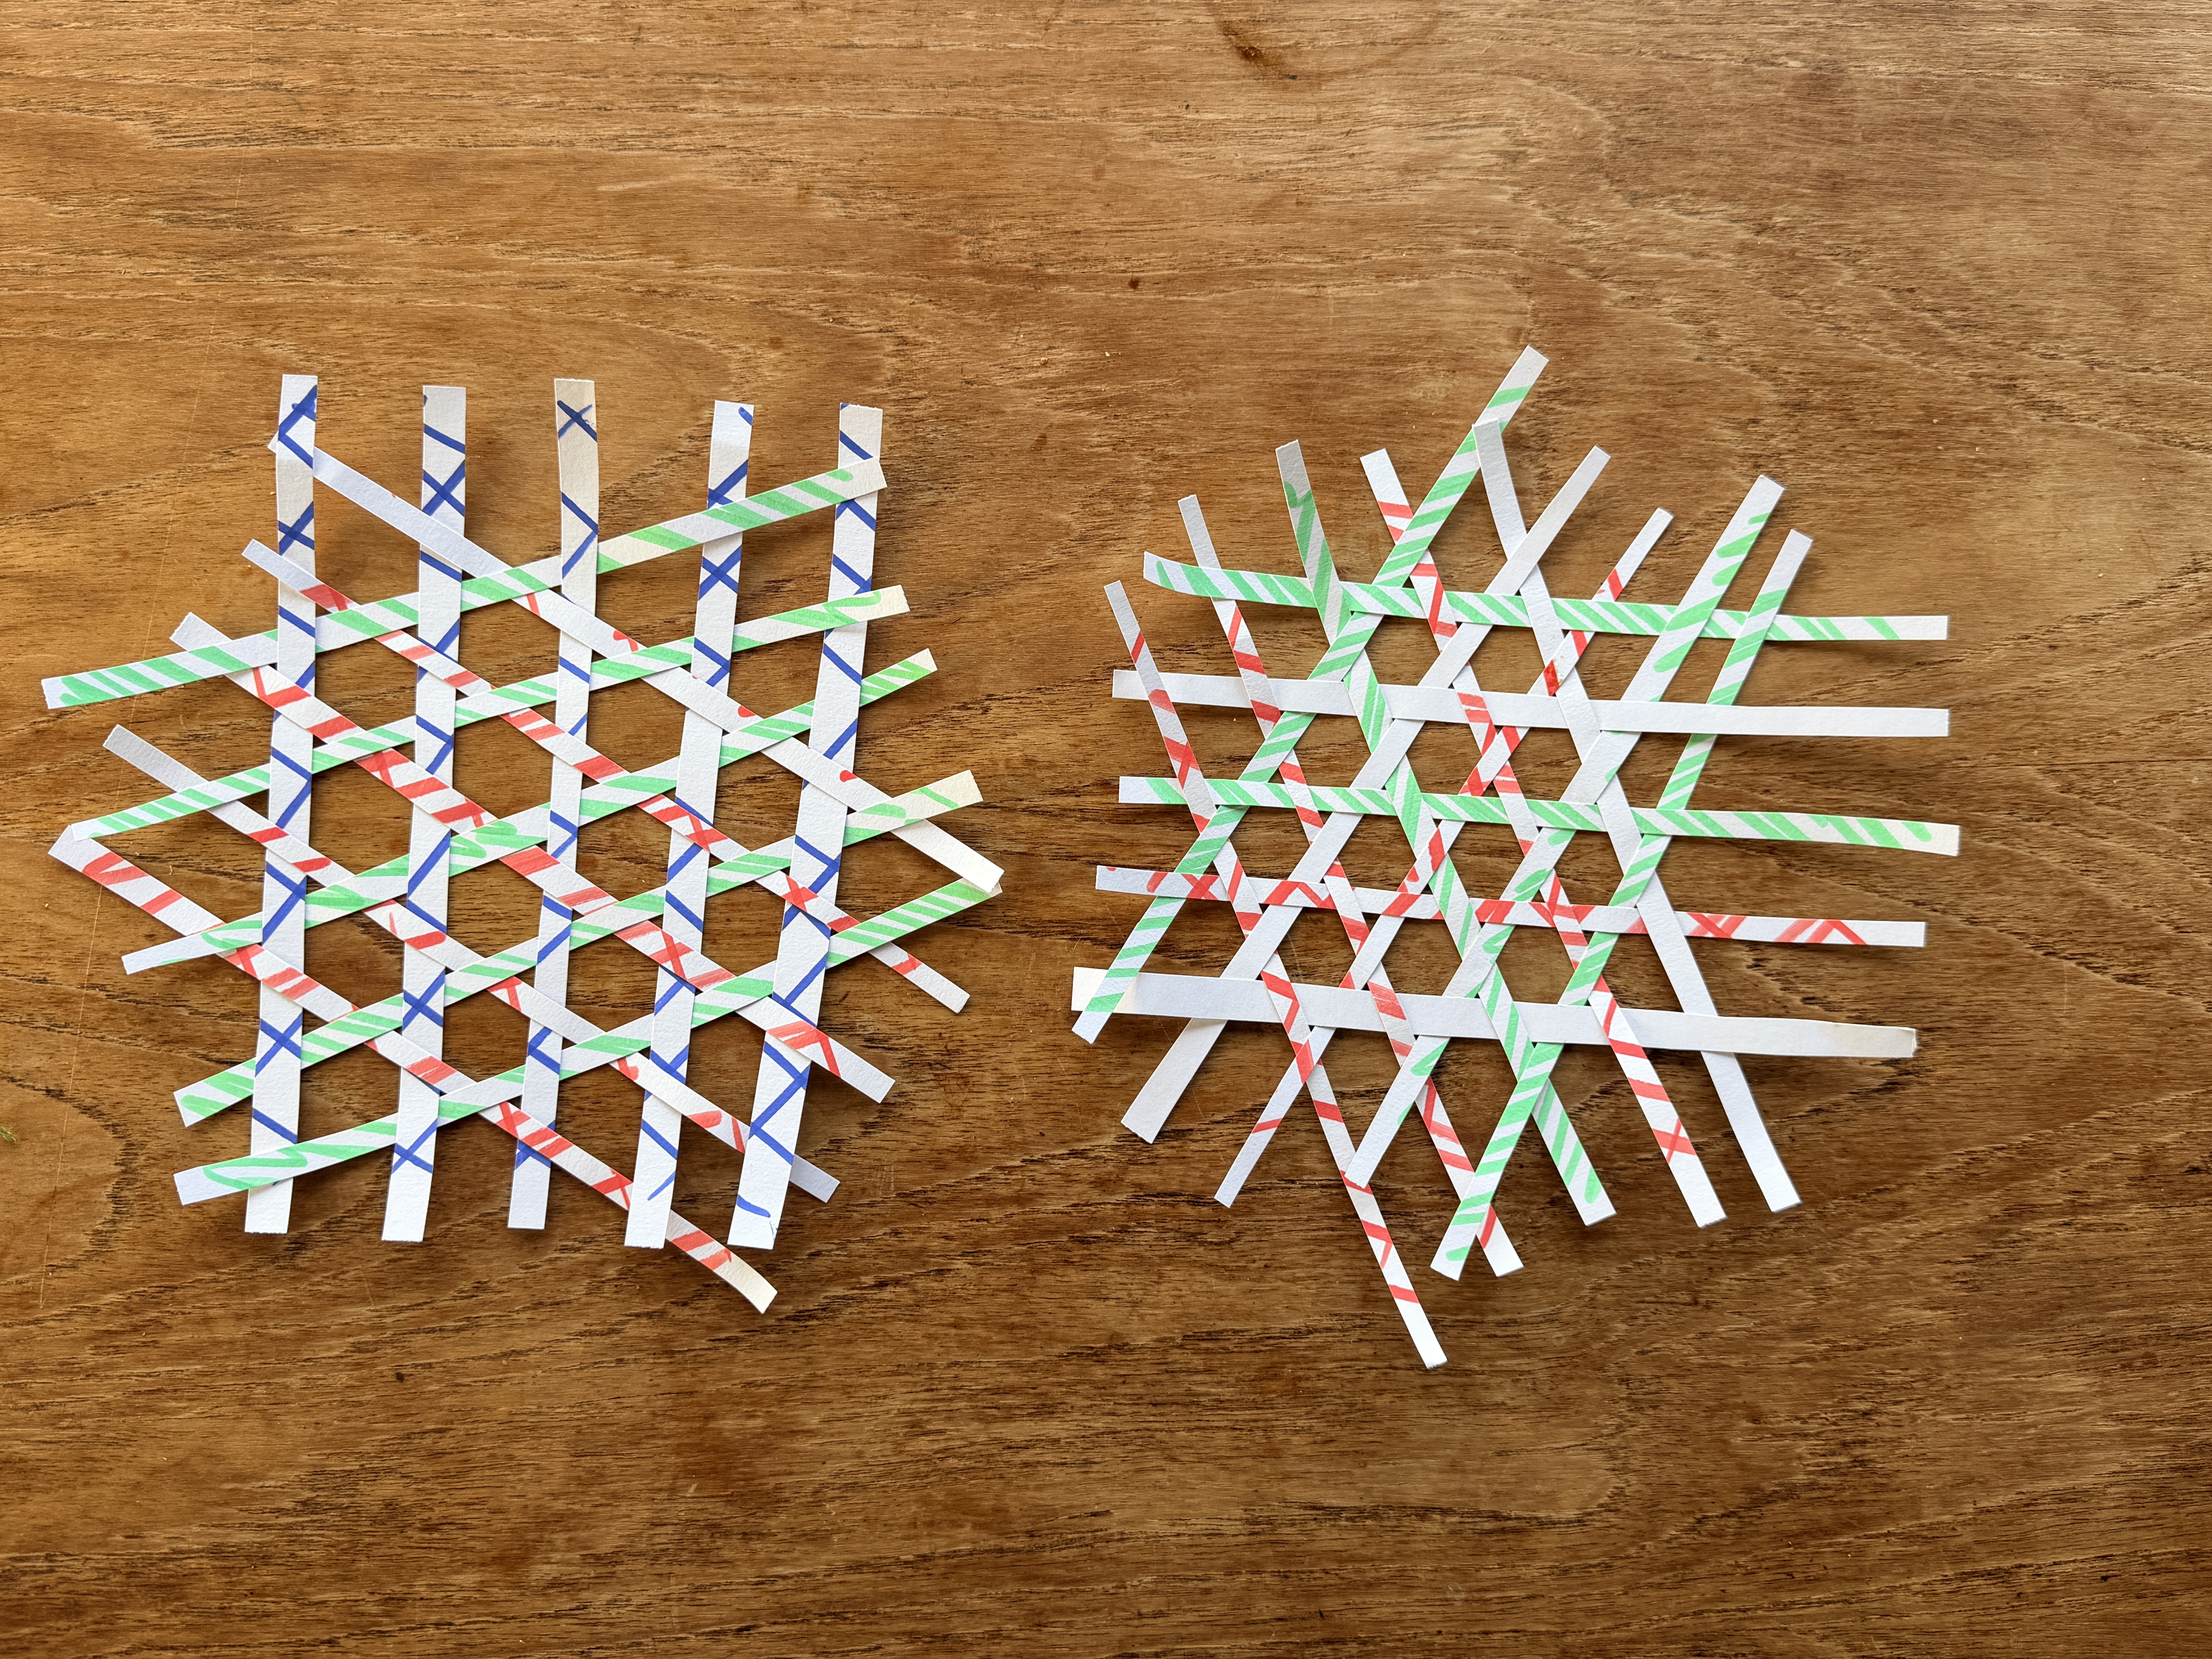
We next decided to try to learn how to create our own triaxial weaves.
This was a new craft for all of us, so we started by making flat weaves with paper. You can see the results above, in the Idea section. The next step was to try introducing curvature. This turned out to be a real challenge, both conceptually (wrapping one's head around the math isn't easy) and practically (holding the stands in place while the surface is trying to curve isn't easy either). In the end, we succeeded at creating a curved surface.
The Next Steps
There's a lot left to do: here's some directions the project might go next.
We are still working on the algorithm, improving performance and output rendering. We'll need to play with the parameters to find an optimal balance between design fidelity and weaving tractability.
We want to improve our Kagome technique to the point that we can actually weave a protein structure.
We want to make an animation that we can project through a woven surface. The code we made that generates Kagome surfaces based on the location of singularities may be one step toward that. Shadow depends on both form and light - we want to play with both.